Increase Productivity in Daz Studio 4 (DS4)
with Hardware Acceleration Enabled
PDF/WMV/MP4 Package Just $ 2.00
or FREE below
Scroll
down to read the complete article or watch it on YouTube; or you
can take it anywhere by purchasing the package above.
Increase Productivity in Daz Studio with Hardware Acceleration Enabled
Copyright (c) 2018, Winterbrose Arts and Graphics. All Rights Reserved.
 View on YouTube
If
you Viewport seems sluggish whenever you make camera or view
adjustments, then you may want to see if hardware acceleration has been
disabled in Daz Studio. In most cases, this is the problem because
hardware accelerations is not enabled (disabled) by default when you
install Daz Studio the first time. If you have not changed this
setting, then you may want to see if it makes any difference on your
machine.
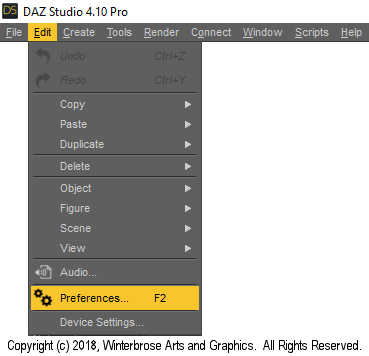
On the main menu, go to Edit and click on Preferences.
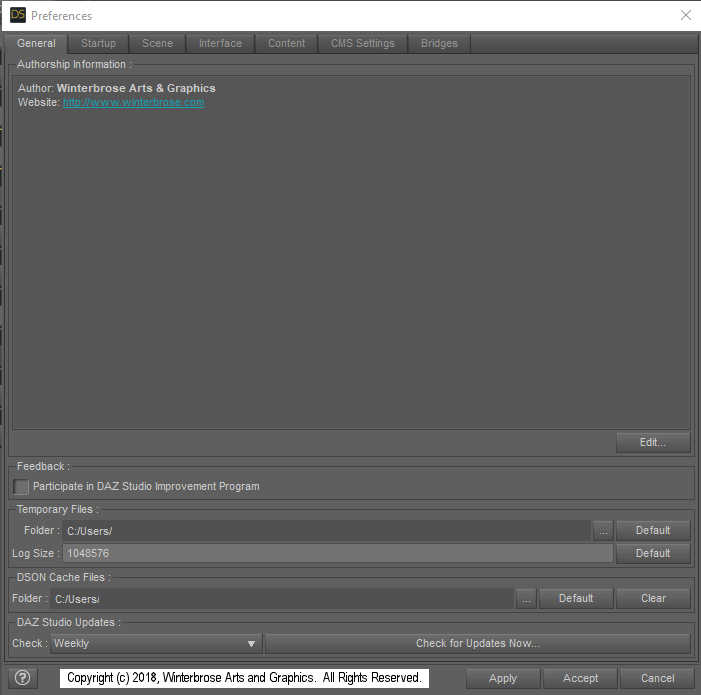
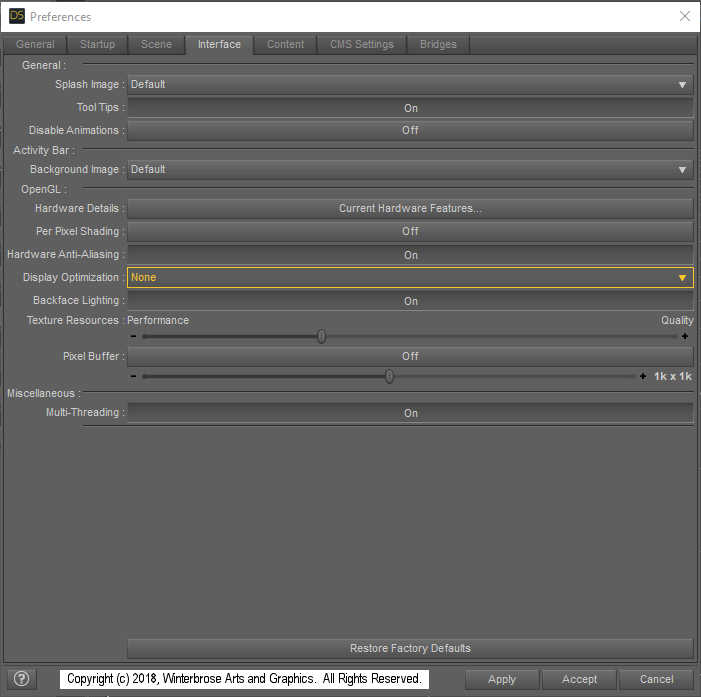
Click on the Interface tab.
In the Display Optimization section, look at the long bar/button to see which mode you are in.
The choices are None, Better and Best.
Whether you have a good video card* or not, you will have to test to see which setting works best for your system.
If
you like a particular setting, click the Apply button and then the
Accept button to make the change remain. You can always retreat
to None if you begin having problems.
*
A good video card does not necessarily mean one with the nVidia
chipset; Radeon and integrated video like Intel should work too.
And
just when you thought we were done, we have so much more to
cover. You don't have to be a computer geek to learn about the
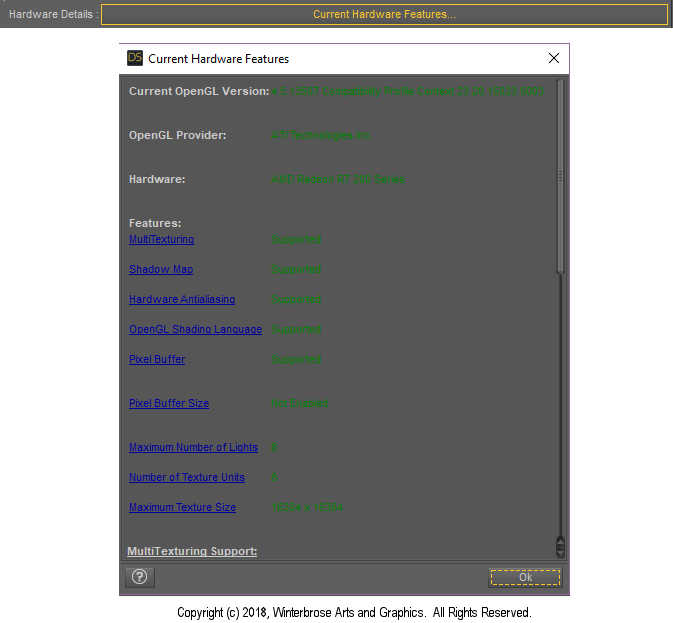
features available for your video hardware. Simply click on the Current Hardware Features
bar/button to get an instant report of the capabilities of your video
card along with narrative descriptions of the various features.
These
other options when fine tuned to your system could make a significant
difference in performance. These are the features that you will find
most likely to impact your system's performance. Don't forget that you
can check whether or not your hardware supports a feature using the
bar/button above.
1. Per Pixel Shading (Default OFF): If your hardware can support this, turn it ON. If unsure, try it to see.
2. Hardware Anti-Aliasing
(Default ON): No need to change this one, unless of course you know for
sure it has a negative impact on your system's performance.
3. Display Optimization (Default NONE): This is the main feature we previously discussed.
4. Texture Resources Slider (Default ~40%): Adjust this slider toward the Performance end to see if it helps.
5. Pixel Buffer (Default OFF): If this option is supported by your hardware, it is worth a try.
Unfortunately,
because of the wide variety of CPU types and GPU types along with
factors like system memory and video memory, there is no "magic"
setting that works for all users. You will just have to experiment with
the one or more that sound most likely to increase performance to an
acceptable level for you. If you change an option and it has a negative
impact on the performance your work flow requires, set it back to the
Default.
Best
viewed at
1024
x 768
or higher. |
 |
Thanks for Visiting
WINTERBROSE
Arts
& Graphics
|