          |
Seamless Stamper v1.1
Remove the Boundaries That Limit Your Textures
Copyright (c) 2013, Winterbrose. All rights reserved.
 |
! Try Before You Buy ! Demo Version  Free Full Version  Just $9.95 |
USER GUIDE LICENSE
|
Seamless
Stamper allows the artist to create
seamless designs and patterns on a
wrap-around (borderless) canvas with precision
placement.
Seamless Stamper is graphics application that was
designed as a prep-work
utility to generate foundational designs
for export and
post-work in your favorite high-level graphics
applications like
Photoshop, The GIMP, Project Dogwaffle, Paintshop
Pro and more.
However, with the use of customized stamp sets and a
little
ingenuity/creativity, Seamless Stamper can
independently create
professional level finished products within minutes.  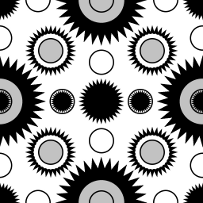 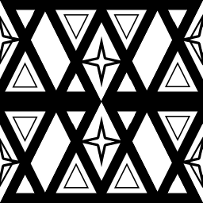 Prepwork Create the framework for your masterpiece by
“stamping” image shapes
onto a 512x512 canvas with automatic wrap-around on
all sides. In
this fashion, all your creations will be
effortlessly seamless without
the need to manually transform your work with
offsetting and
wrap-around every time you are working across
borders. 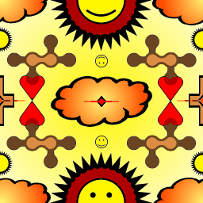 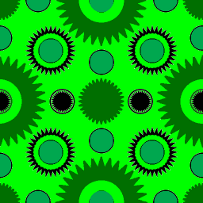 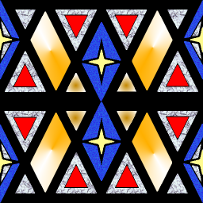 Postwork
Automatic wrap-around is what sets Seamless Stamper apart from many
high-end graphics applications which may require manual
transformations. The intent of this application is not to replace
all the functionality of your favorite graphics applications, but to
supplement them and speed up your workflow processes. Seamless
Stamper is not intended to be used for any illegal or unauthorized
purposes. Do not use copyrighted materials that have not been
licensed for use with applications like Seamless Stamper. Do not
use the Seamless Stamper application or stamp sets to create tubes,
nozzles, brushes or other similar tools without written permission of
the copyright owner. |
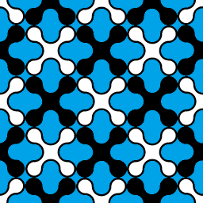
| Wrap-Around | |
| Automatic
wrap-around is what sets Seamless Stamper apart from
many high-end
graphics applications. The intent of this
application is not to
replace all the functionality of your favorite
graphics applications,
but to supplement them and speed up your workflow
processes. |
|
 Stamp Centered |
 Wrap-Around Top-Bottom |
 Wrap-Around Sides |
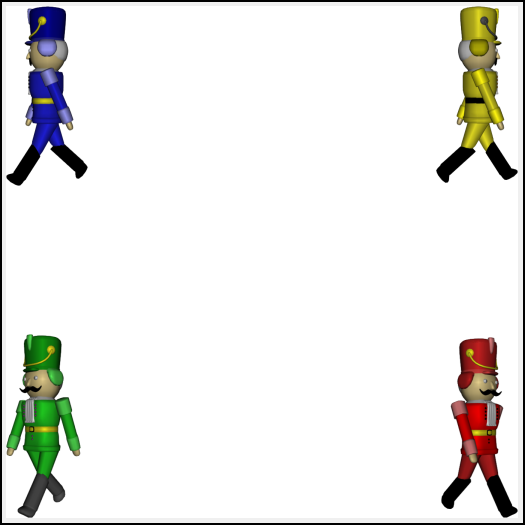
 Stamp Cornered |
 Collaged Texture Using All Techniques |
|
Getting
Started
When
it comes to digital graphics, everybody has a different
experience level from
amateur to professional. This
section
will quickly cover all that you need to know to get your
project completed from
start to finish. More details
are provided
in other sections to elaborate on issues related to using
Seamless Stamper that
you may be unfamiliar with so feel free to review the
complete Users Guide
first.
Background Color
Background Image
Load Stamp

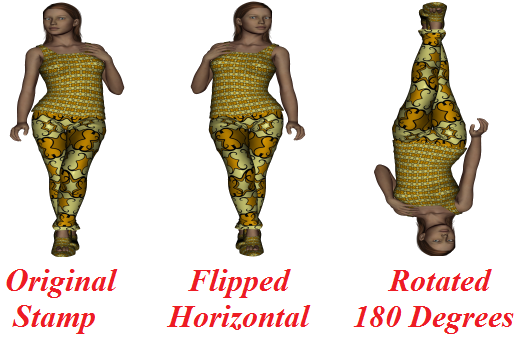
Modify Stamp
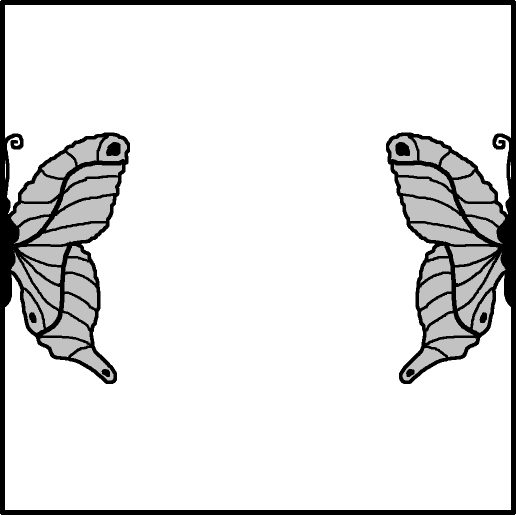
Rotate/Flip
Stamp
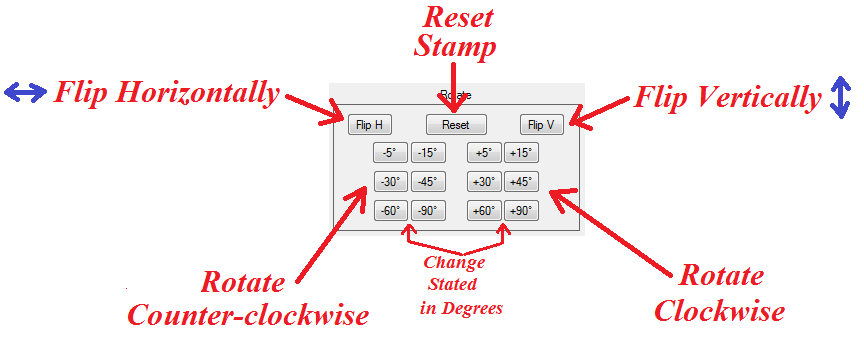
Nearly
all digital images are stored/saved as rectangular shapes. For this reason, stamps that are
rotated may
be slightly smaller than the original stamp image. You may be able to adjust for this
with
scaling.
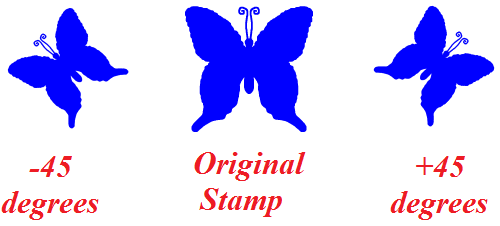
Sometimes
rotating a stamp will get the same effect as flipping, but not
always.
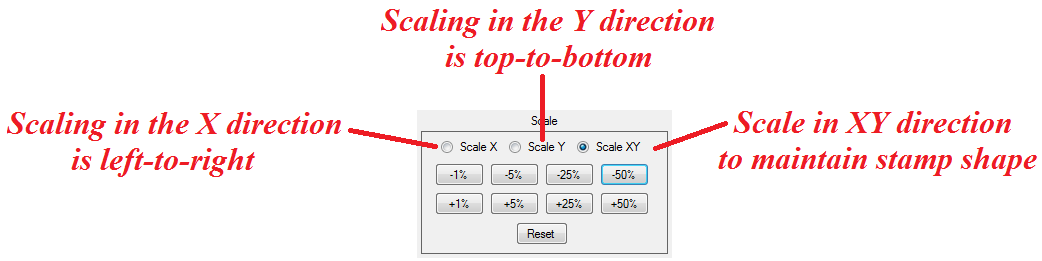
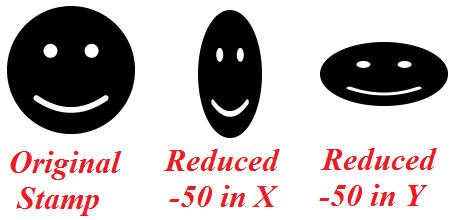
Scale
Stamp
Set
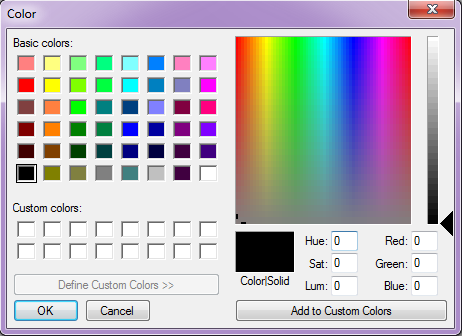
Transparent Color
There
may be times when you need to eliminate a color from the stamp
you are using by
setting the color to be transparent. Simply
click
the color on the loaded stamp image, or click on the color box
in the Transparency
panel to bring up the Color Dialog. In
the
example below, the color orange was clicked.
![]()
When
the stamp is attached to the mouse pointer and imprinted on
the canvas, the
color selected to be transparent will not show.
![]()
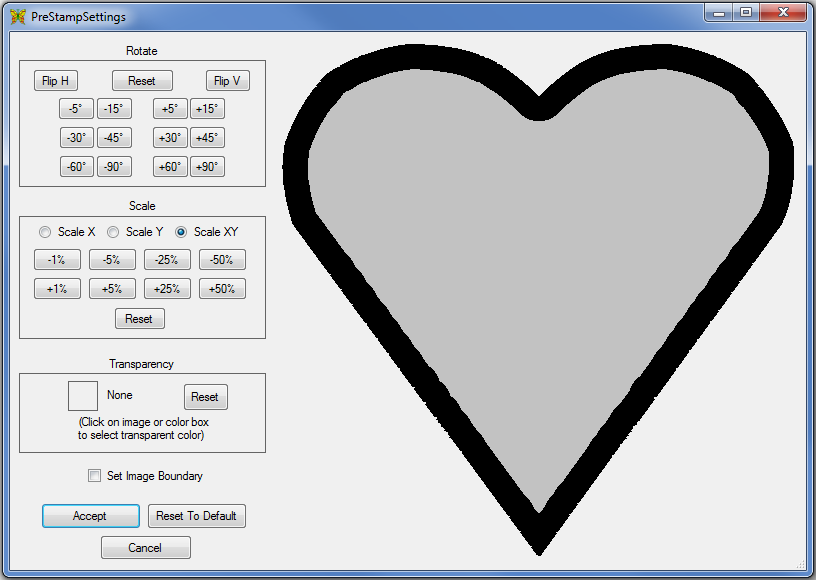
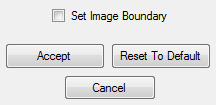
Boundaries
There
may be occasions when you want to confine imprinting to stay
inside the canvas
borders without crossing the boundaries with wrap-around. When you load the image, click the
checkbox
for Set Image Boundary before accepting the stamp.
Imprint
On Canvas
When
a stamp is loaded, it is centered on and attached to the mouse
pointer. Click the left mouse
button to imprint the
stamp on the canvas or click the right mouse button to release
the stamp
without imprinting the canvas.
LMB
--- Imprint Stamp On
Canvas
RMB
--- Release Stamp From
Pointer
Each
time a stamp is loaded, you can use imprint it one time on the
canvas.
Reusing
Stamps
Stamps
that have been loaded are located in the thumbnail panel at
the bottom of the
screen and can be reused over and over again as needed without
having to reload
them. To reuse any stamp again,
left-click
on thumbnail for the stamp you wish to use again. If you want to make adjustments to
the stamp
before reusing it, right-click on thumbnail to use again with
different
settings from the PreStampSettings popup.
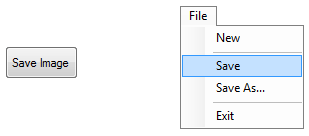
Save
Image
To
save your masterpiece for use in other projects or to continue
some post-work
changes in another graphics application, click on the "Save
Image"
button or use one of the Save or
Save As
options from the file menu.
Coordinate System
The
working canvas is sized at 512 pixels wide by 512 pixels high
(512x512). When calculated you
can see that our canvas
workspace consists of 262,144 pixels each with their own
specific location in
the workspace. The pixels are
arranged
in rows across the canvas from left to right (called the "X"
direction),
and in columns down the canvas from top to bottom (called the
"Y"
direction). As is the case in
many
modern graphics-based applications, we begin counting our
pixels in the
coordinate system with 0 (zero). This
means
that when counting a pixel's location in the X direction or Y
direction,
it will be somewhere between 0 and 511. The
upper-left
pixel is coordinate 0,0 and the lower-right pixel location is
511,511.
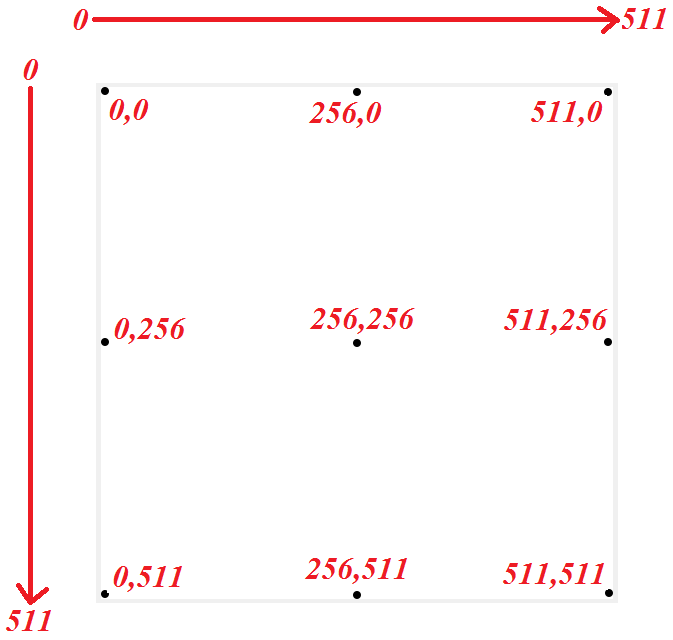
Nine
dots have been placed in the figure above with their X,Y
coordinate locations to
demonstrate how the location of a pixel is counted on the
canvas workspace.
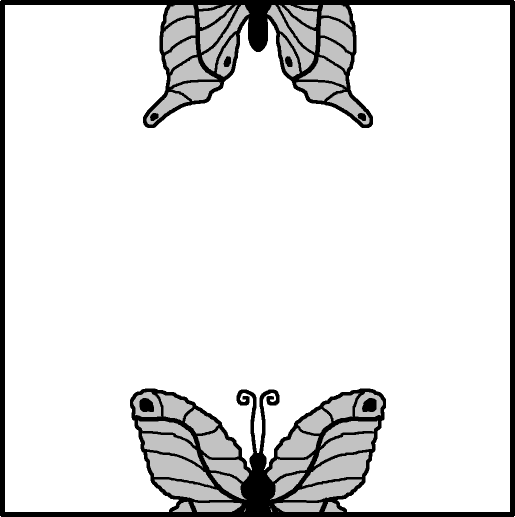
Precision Placement
When
moving stamps around in the canvas workspace, you may need to
know exactly
where they are located. You can
freehand
place stamps onto the canvas (eyeball it) or control their
location with
precision placement so each stamp is imprinted onto the canvas
in an exact
location. Once loaded, you will
know the
exact position of your stamp on the canvas by glancing just
above the
upper-right corner of the canvas where the current mouse
pointer location is
displayed. Just move your stamp
around the
canvas workspace until the coordinates for the mouse pointer
are at the desired
location then left-click to imprint the canvas.
The Butterfly project below shows the mouse pointer
without a stamp
attached, but you can see its exact location over the canvas
in "X,Y"
coordinates in the pointer location area.
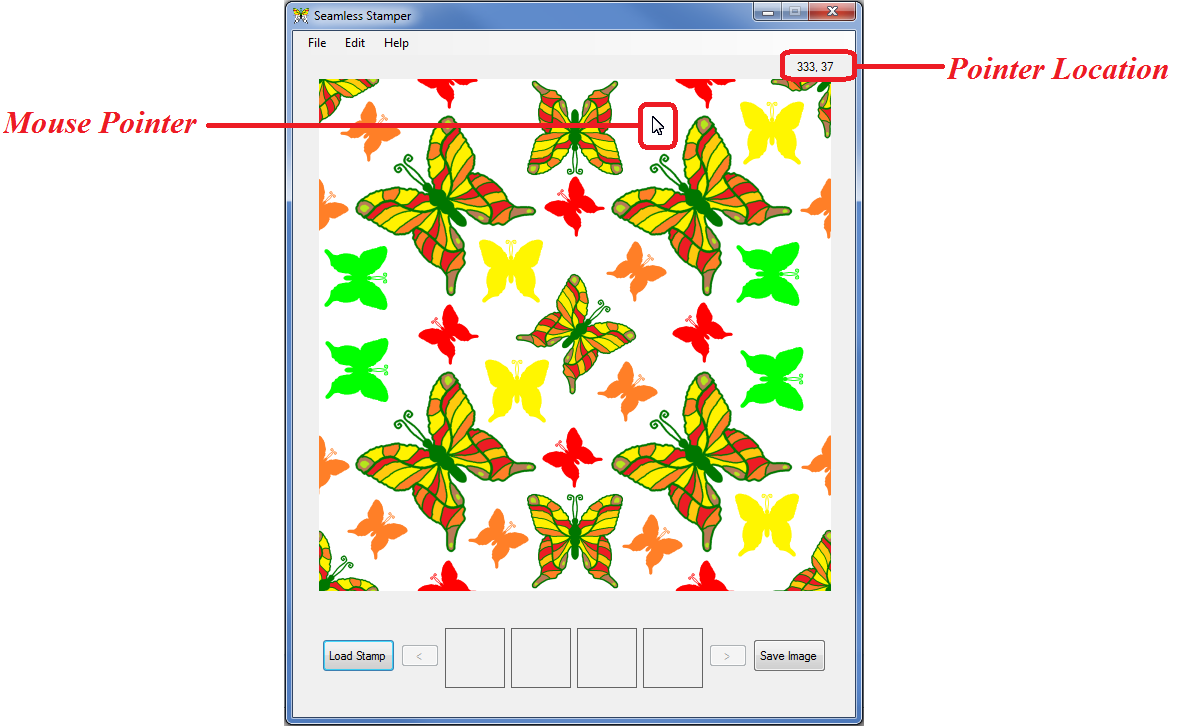
Mouse Pointer Location
Just
remember that when a stamp is attached to the mouse pointer,
the pointer is located
in the center of the stamp when you are moving it around the
canvas.
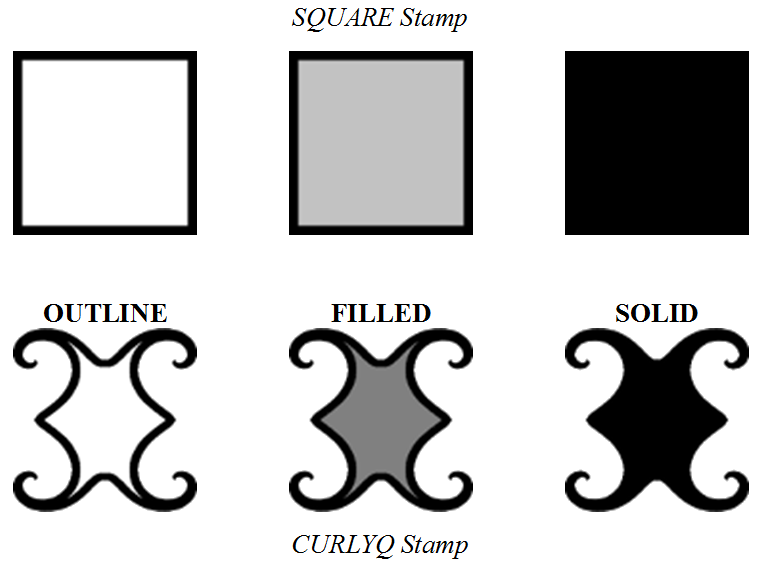
Stamp Styles
Seamless
Stamper includes a collection of basic stamps sized at 512x512
to get you
started. The Portable Network
Graphics
(png) format is used because it provides better quality
graphics and supports
transparency. For optimal
performance,
we recommend you use the PNG format when developing your own
stamps to be used
with Seamless Stamper for your own creations.
The
Basic Stamps only come in 3 different styles (Outline, Filled,
& Solid) and
can easily be used as the basis for your own stamp designs by
adding colors and
patterns. For all stamp patterns,
the
default style will be the Outline and other styles will be
designated with the
appropriate suffix (-e for etched, -f for filled and -s for
solid). As you can see the Outline style is simply that; an outline in
black representing the
given shape with transparency in all other areas. The Filled
style is shaded in light grey with a black outline and
transparency in all
other areas. And lastly the Solid style is completely black with
transparency in all applicable areas.
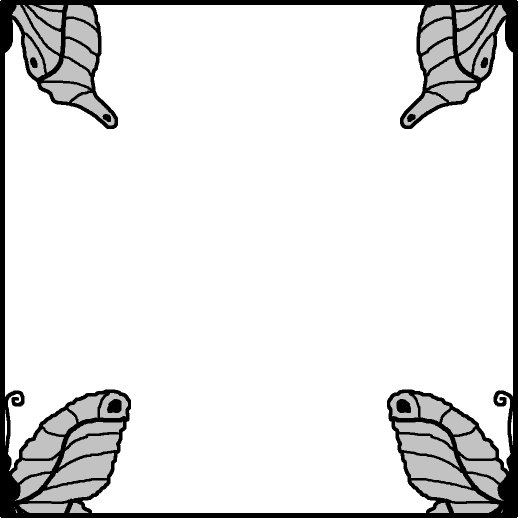
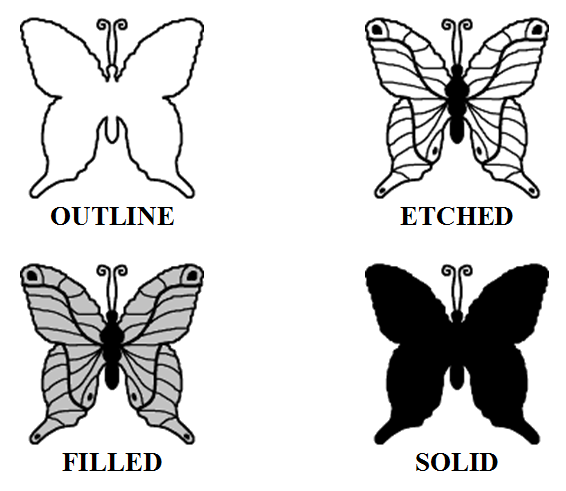
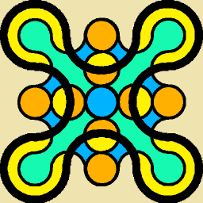
Other
collections with more detailed stamps may include additional
styles. For instance, this
Butterfly from an Insect
collection has an etched style. The
Etched style has more details which
greatly enhance any artistic works. You
will
also notice that the Filled
style is based upon the Etched style and not the Outline
style.
Here
is an adaption of the Butterfly stamp with colorization added
using GIMP.

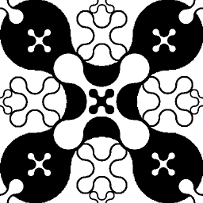
Basic Stamp Set
There
are 20 stamps in the Basic Stamps collection.
Mix and match the stamps when creating your own
artwork. When loading the stamps,
use the rotation and
scaling features to further enhance the creation of unique
designs.

Here is an
overview of all
varieties of stamps in the Basic Stamp Set.

BASIC STAMPS
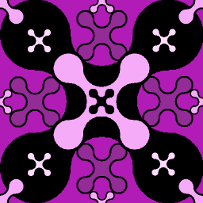
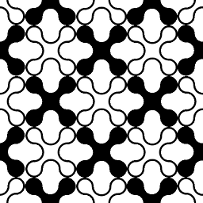
Demo Mode
Demo
Black & White
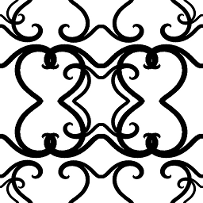
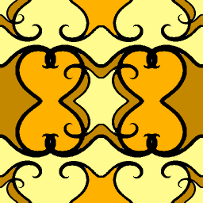
Demo Texture
Colorized
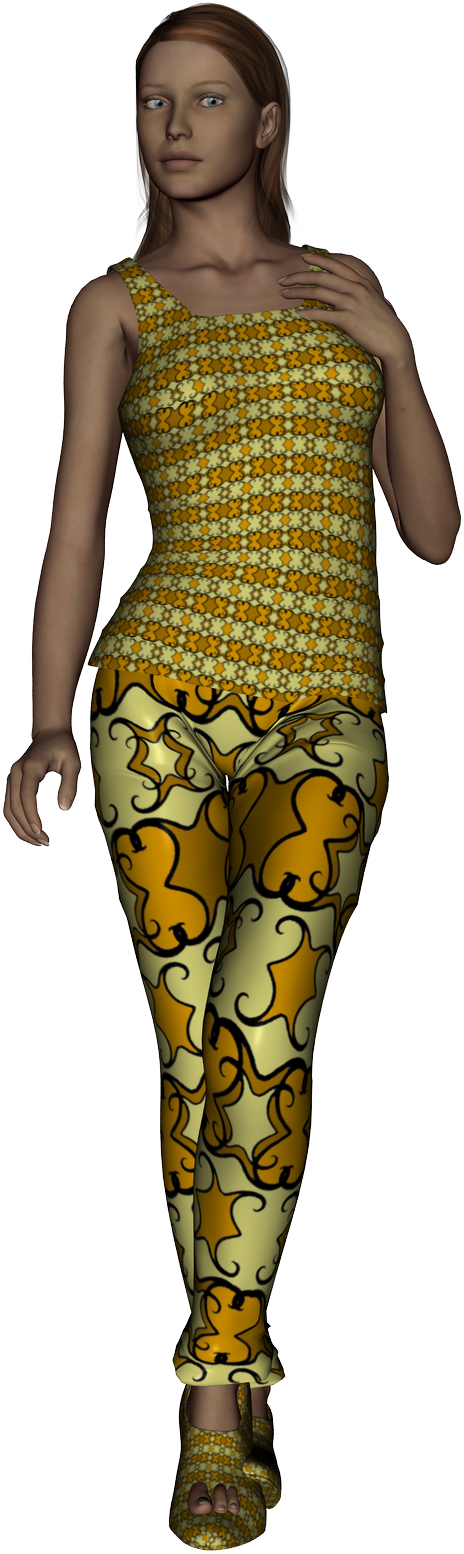
Demo Texture applied
to Casual Clothing
(Shirt, Pants
and Shoes) worn by
Sample Textures


Importing Stamps
This
example texture was created by loading the texture background
then stamping
three of the included shapes on it. All
four
files were in PNG format.
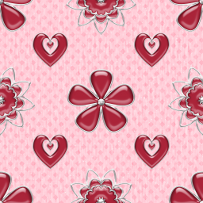

EXAMPLE USING FREE Valentine-Wine-Kit (ShareCG}
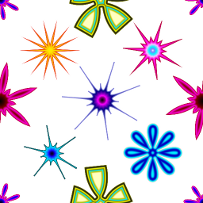

EXAMPLE USING FREE DA-DesignElements {ShareCG}
Converting Brushes
To
convert a brush, tube, pattern or similar painting tools from
Photoshop, The
GIMP or any other graphics application to use as a stamp is as
simple as this:
2.
We recommend that you set the background to transparent.
(alpha channel).
3.
Use the brush or other tool to create an image.
4.
Save your image as a PNG
At
the time of this writing, we highly recommend you visit this
site for
additional free images, brushes, tubes, pattern and the like:
Here
are the results of a quick internet search for other websites
with like items
for free. None of these locations
have
been validated so please use caution when visiting these, or
any website for
that matter, that you are unfamiliar.
Customization
Creating your own stamps to be used with Seamless Stamper couldn’t be easier. Just follow these basic guidelines when designing customized stamps to get the best results from your efforts:
1. Use the Portable Network Graphics (png) format.
2. Use a Transparent background instead of the color White.
3. For highly detailed work, size your stamp at 512 x 512.
If
you have developed brushes and stamps for other graphics
applications like
Photoshop, The GIMP, Project Dogwaffle or Paintshop Pro,
please feel free to
port these over for use with Seamless Stamper.
Here are some other pointers that may help out or provide valuable insights:
1. Create your initial designs in Black and White, then colorize later;
this way you can develop different color styles of the same design.
2. If you choose any size other than 512x512, keep it square
(same dimensions in width and height) for correct rotation adjustments.
| Known Limitations | |
| When using Seamless Stamper with multi-display systems (more than 1 monitor), it must be used on the primary screen to avoid problems with the stamp controls. This may be overcome on some systems using Alt-Tab to switch applications. |
| System Requirements | |
| Windows • Windows XP, Vista, Windows 7 or higher • Microsoft .NET Framework 3.5 or higher • 1 GHz Pentium class or compatible (2 GHz or faster recommended) • 1 GB system RAM (4 GB or more recommended) • 24-bit color display, 1024 x 768 resolution Macintosh • Sorry, Seamless Stamper is available only for PC. |
| Licensing | |
| The purchase of Seamless
Stamper software entitles the original
purchaser to a
non-transferrable single-user single-instance license
for the software package to
be installed on any computer system but to be executing
on only a single computer system at any point in time. Seamless
Stamper software is not
authorized to be used for projects that violate
copyright and trademark
laws. Purchasers will receive their
personalized serial number from
the reseller where purchased or directly from
Winterbrose. |
| IMPORTANT NOTICE | |
| Please read this section carefully before purchasing Seamless Stamper. All sales are final! No refunds on purchased software! Every computer system has a unique hardware and software configuration. Under certain conditions, Seamless Stamper may impact or be impacted by your system's particular configuration. Therefore, all users are highly encouraged to download the Demo Version to ensure compatibility with your computer system BEFORE purchasing a copy of the software. |
